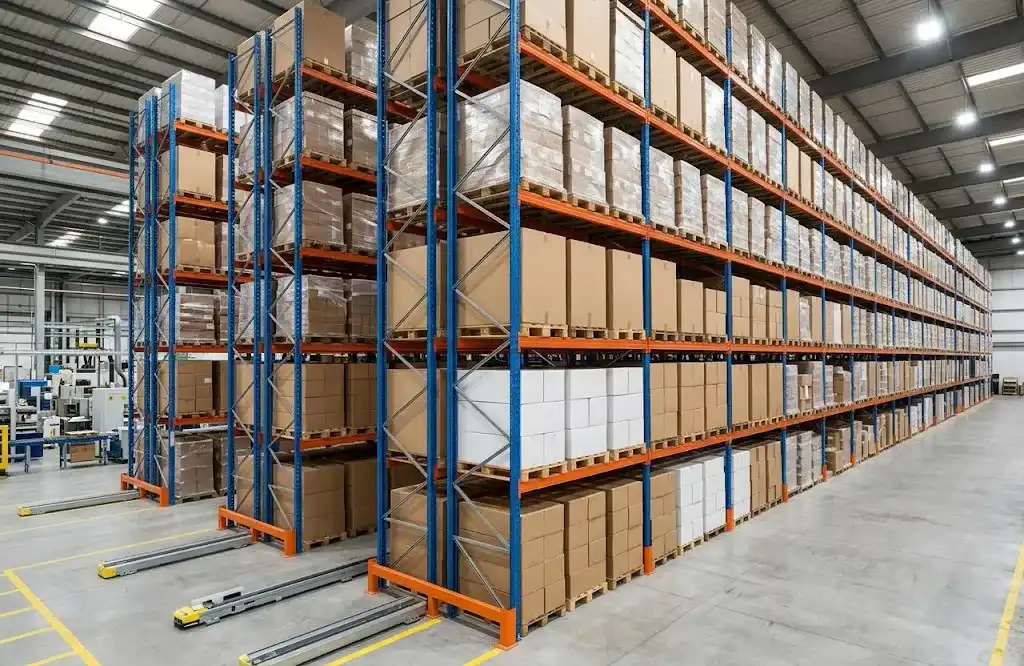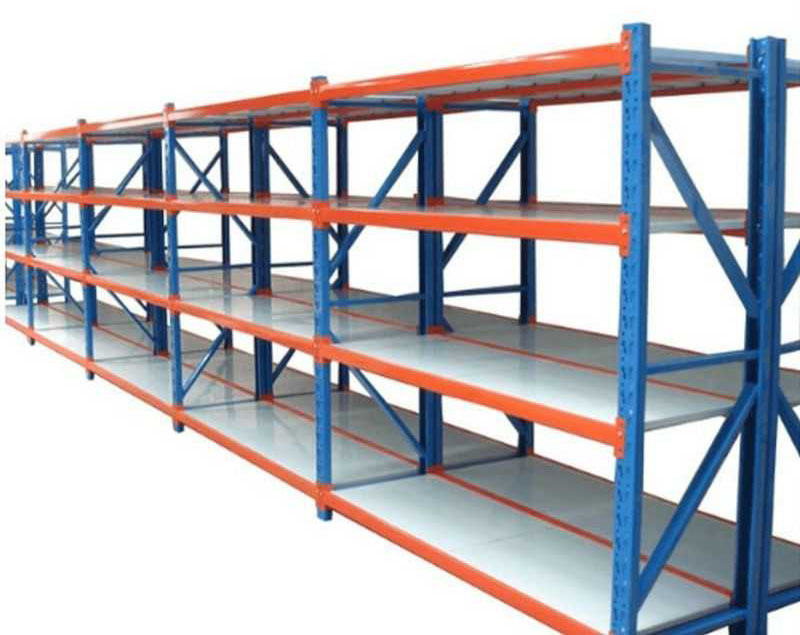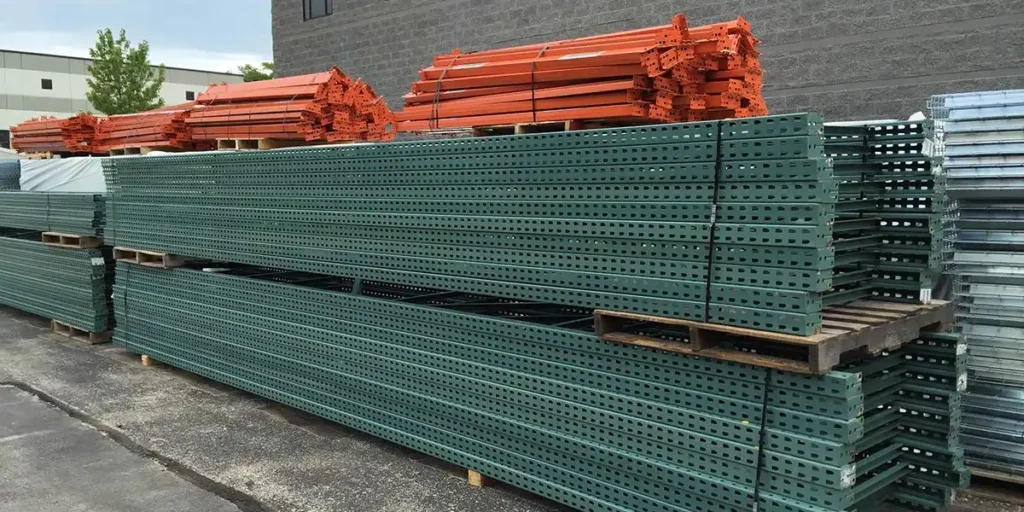


In our 18 years of manufacturing shelving storage systems, I’ve witnessed every scenario imaginable: from columns propped up with cardboard to seemingly sturdy yet structurally incoherent hodgepodge assemblies.
This guide dissects the fundamentals of shelving manuals. We delve into the practical application of the AS 4084.2:2023 standard, explain the critical importance of installation tolerances, and provide a clear framework for shelving safety management.
Key Takeaways
- Design Concept: Why forklift turning radius determines racking layout.
- Installation Process: 7-step standard racking installation process.
- Load Limits: Understanding the hazards of Safe Working Load (SWL) and “point load”.
- Damage Assessment: A clear table illustrating how to categorize green, yellow, and red risks.
- Pallet Fitting: How to avoid dangerous gaps between pallet sizes.
1. Design Requirements
The safety of a racking system depends on the design phase, before the first bolt is tightened. A common mistake we see is companies purchasing standard off-the-shelf racking without calculating the specific geometry of their material handling equipment.
Forklift Compatibility Factors
Rack layout design must proceed in reverse, starting with forklift performance. “Aisle width” is not just about forklift passage; it’s also about right-angle stacking (AST), the minimum width required for a forklift to turn 90 degrees and align with the racking. Even a narrow aisle of only 100 mm can cause operators to collide with uprights while turning, leading to accumulated structural fatigue.
Furthermore, vertical clearance must account for the height of the forklift mast when fully extended. We recommend a clearance of at least 150 mm to 200 mm between the top of the goods and the beams above them (or ceiling sprinkler systems) to ensure safe lifting and tilting.
Typical Aisle Width Requirements
| Forklift Type | Typical Aisle Width Required | Application Note |
| Counterbalance (LPG/Electric) | 3.5m – 4.5m | Requires wide aisles; cheapest truck but expensive on floor space. |
| Reach Truck | 2.5m – 3.0m | Standard for most high-density warehouses. |
| VNA (Very Narrow Aisle) | 1.6m – 1.8m | Requires rail or wire guidance systems in the floor. |
| Articulated (Bendi/Flexi) | 1.8m – 2.2m | Excellent for retrofitting older warehouses with narrow columns. |
2. Installation:
1. Phase One: Site Inspection & Preparation
Before a single piece of steel arrives on-site, the environment must be validated. A rack is only as stable as the floor it stands on.
Concrete Slab Integrity: The 3,000 PSI Rule
The most overlooked aspect of racking safety is the concrete slab. You cannot simply bolt 10 tons of steel to a standard garage floor.
- Pressure Rating: We recommend a minimum concrete compressive strength of 3,000 PSI (pounds per square inch). Anything less poses a risk of the anchor bolts pulling out under tension (uplift) during a seismic event or collision.
- Thickness: The slab should be at least 6 inches (150mm) thick. If your slab is thinner, you may need specialized chemical anchors or larger base plates to spread the load.
- Levelness: The floor must be flat. AS 4084 allows for very little tolerance. If the floor dips, we must use steel shims (packing plates) to level the rack. Never use wood or plastic shims—they will compress over time, causing the rack to lean.
Identifying Floor Hazards
- Cracks & Expansion Joints: During the site survey, we map out all floor cracks and expansion joints.
- Critical Rule: Never place an anchor bolt closer than 3-4 inches to an expansion joint or a crack. The concrete is weak in these zones, and the bolt will shatter the edge, rendering the anchor useless.
2. Phase Two: The Step-by-Step Installation Workflow
Step 1: Layout & Precision Marking
Using a combination of chalk lines and laser levels, the layout is marked on the floor before assembly begins.
- The Goal: Ensure aisles are perfectly straight and “square” (90-degree angles).
- Why It Matters: If a rack row is even slightly crooked, the aisle width changes from one end to the other. This creates a “pinch point” where forklifts are guaranteed to hit the uprights.
Step 2: Upright Frame Assembly
The frame consists of two vertical posts (uprights) connected by diagonal and horizontal bracing.
- Bracing Pattern: The bracing must be bolted in the exact pattern specified by the manufacturer’s technical drawing. A missing diagonal brace reduces the frame’s twisting resistance.
- Hardware Torque: All bolts connecting the bracing to the uprights must be torqued to spec. Loose bracing leads to a “wobbly” rack that sways under load.
Step 3: Beam Installation & Leveling
Once the frames are stood up (and temporarily held in place), beams are installed.
- Leveling: We use laser levels to ensure beams are perfectly horizontal. An unlevel beam puts uneven stress on the connector, leading to premature metal fatigue.
- The Safety Lock: Every beam connector must be secured with a Safety Pin or Clip. This small device prevents the beam from being accidentally dislodged if a forklift operator lifts a pallet too high and bumps the beam from below. If the clip is missing, the beam is not safe.
Step 4: Floor Anchoring
Only after the rack is squared and leveled do we drill the floor.
We drill into the concrete through the baseplate holes, clean the dust out (crucial for grip), and drive in the mechanical or chemical anchors.
Anchors are tightened to the manufacturer’s torque settings. Over-tightening can crack the concrete; under-tightening leaves the rack unstable.
Step 5: Accessories & Protection
- Row Spacers: For back-to-back rows, spacers are installed to keep the distance constant and add rigidity.
- Mesh Decks: If storing loose boxes or non-standard pallets, wire mesh decks are dropped in to prevent items from falling through.
- Upright Protectors: Steel guards are bolted to the floor in front of the uprights to absorb forklift impacts.
3. Safe Working Loads (SWL) & Signage
Safe Working Load (SWL) is the structural limit calculated based on the steel grade, beam profile, and beam length.
What is beam deflection?
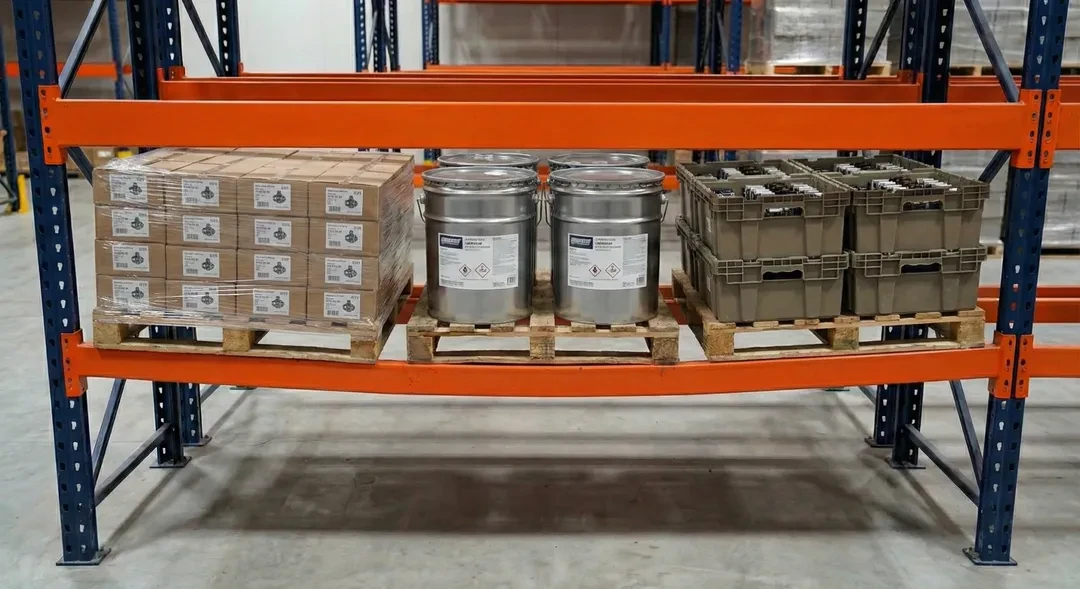
When you place a heavy pallet on a beam, it will naturally bow slightly in the middle. This is called deflection.
The standard allowable deflection is usually 1/180th of the beam’s length. For a 2700mm beam, a 15mm bow is often acceptable (check manufacturer specs).
If a beam remains bowed after the load is removed (permanent deformation), the steel has yielded. The beam is dead. Replace it immediately.
Safe Working Load Mark Checklist
These are not just stickers; they are the “instruction manual” for the bay.
| Data Point | Why It Matters |
| Unit Load Limit | The max weight of a single pallet (e.g., 1000kg). |
| Total Bay Load | The total weight the uprights can hold (e.g., 12,000kg). Note: Uprights often have a lower limit than the sum of all beams. |
| First Beam Height | The distance from the floor to the first beam affects the upright’s buckling strength. Never move the first beam higher without re-calculating the capacity. |
| Manufacturer & Date | Traceability for audits and repairs. |
4. Pallet Compatibility
A major source of accidents we investigate stems from the mismatch between the pallet type and the racking depth.
The Risk of Point Loading
Standard racking beams are designed for Uniformly Distributed Loads (UDL), meaning the weight is spread evenly across the beams.
If you use a skid (a pallet with feet but no bottom boards) or a post pallet, the weight concentrates on two tiny points on the beam. This is “Point Loading.”
-
The Consequence: This can crush the box-section of the beam or cause the pallet to slip through.
-
The Fix: If you use non-standard pallets, you must install mesh decks or pallet support bars to distribute the weight.
Overseas vs. Domestic Pallets
Be cautious with imported goods. An Australian Standard pallet is 1165mm x 1165mm. A Euro pallet is 1200mm x 800mm. If you put a Euro pallet into a standard Australian rack (838mm depth), it may barely rest on the beams, creating a high risk of falling.
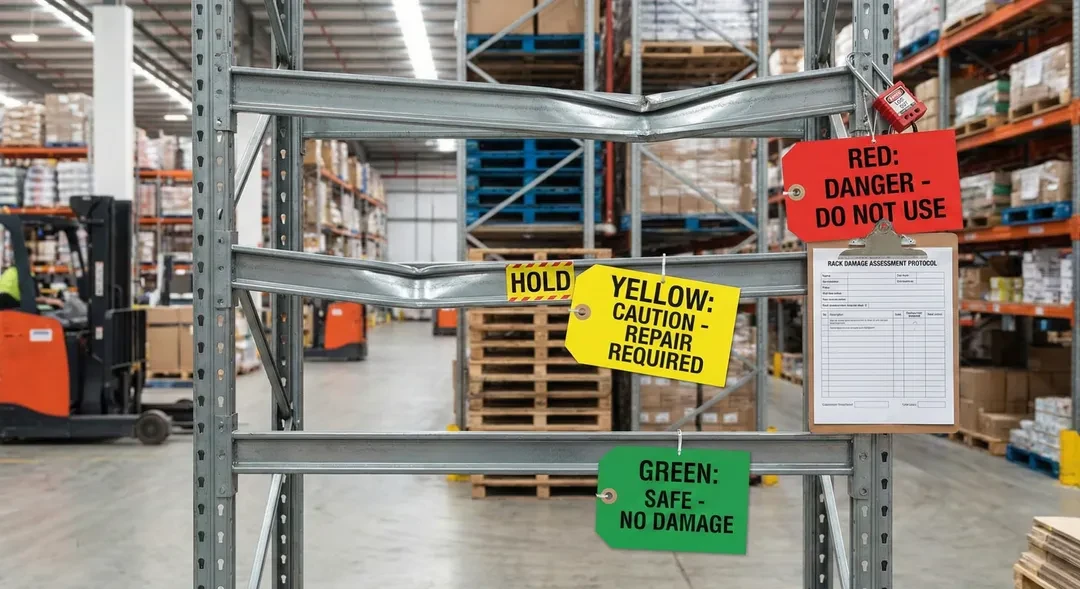
5. Damage Assessment: The Green, Amber, Red Protocol
Damage is inevitable, but ignoring it is negligent. AS 4084.2:2023 provides a clear traffic-light system for categorizing damage to uprights and beams.
| Category | Indicator | Action Required |
| GREEN (Acceptable) | Minor dents within tolerance limits (e.g., <3mm bend over 1m). | Monitor. Record the location in your maintenance log. Re-check at the next inspection to ensure it hasn’t worsened. |
| AMBER (Hazardous) | Damage exceeds Green limits but is less than 2x the limit. Structural integrity is compromised but not critical. |
Isolate & Repair. 1. Offload the bay immediately. 2. Tag it “Do Not Use.” 3. Order replacement parts. 4. Note: If not fixed in 4 weeks, it becomes Red. |
| RED (Very Serious) | Critical failure. Severe buckles, tears in steel, or beam connector failure. |
Immediate Stop. 1. Evacuate the area. 2. Offload the damaged bay and adjacent bays immediately. 3. Quarantine the zone until repaired. |
What is Splicing
When a support column is damaged, it is not always necessary to replace the entire 6-meter-high frame. A common solution is to “split together” the damaged bottom section and then bolt a new support leg assembly to it.
Warning: This must be an engineered repair kit from the original manufacturer. Never weld a patch over a damaged upright; the heat from welding weakens the tempered steel.
6. Maintenance & Inspection
Security is an ongoing process, not a one-time event.
The Two-Tier Inspection System
- Informal Weekly Inspection: This is a visual inspection conducted by your site supervisor. It mainly looks for some obvious issues:
1. Has the forklift hit the frame?
2. Are any beam connectors missing?
3. Is there any debris in the aisles? - Formal annual audit: Every 12 months, a detailed structural audit must be conducted by qualified personnel.
1. This includes measuring deflection using a ruler,
2. checking the torque of floor slab anchors,
3. and verifying that the system conforms to the original drawings.
Report Immediately
If a driver conceals a collision for fear of punishment, the damaged pillar becomes a ticking time bomb.
Install a simple damage report form on each forklift. Express gratitude if the driver reports a collision. Disciplinary action should be taken if they conceal damage and you later discover it.
Frequently Asked Questions
Can I move my beam levels to fit taller stock?
Do I really need to bolt racking to the floor?
What is the lifespan of pallet racking?
How do I know if my racking is overloaded?
Conclusion
The racking system is the heart of the warehouse. If the frame is not robust, the entire warehouse can collapse. Strict adherence to AS 4084.2:2023 standards, safe working loads, and immediate handling of yellow/red risks are not just about following the rules; they are about protecting the continued operation of the business and the lives of team members.
Need professional audits or certified replacement parts? Contact our engineering team today to ensure your facility is compliant, efficient, and safe.